
How to read this order
IGTAP does not publish upgrade prices, and kiosk costs scale as you buy, so no fixed "buy this, then this" list can be literally correct for every save. What follows is a recommended sequence of priorities — an order of operations that the game's own mechanics reward — assembled from the official kiosk set and from how experienced community players actually spend their watts.
The governing principle is one sentence: buy whatever unblocks your current bottleneck. If completions are worth too little, raise base reward. If too few completions happen, add clones or speed. If an ability unlock is in sight, save for it, because a faster best time beats any kiosk. When two options are close, prefer the one that applies globally or that opens new content.
Opening: course ONE, reward first, then clones
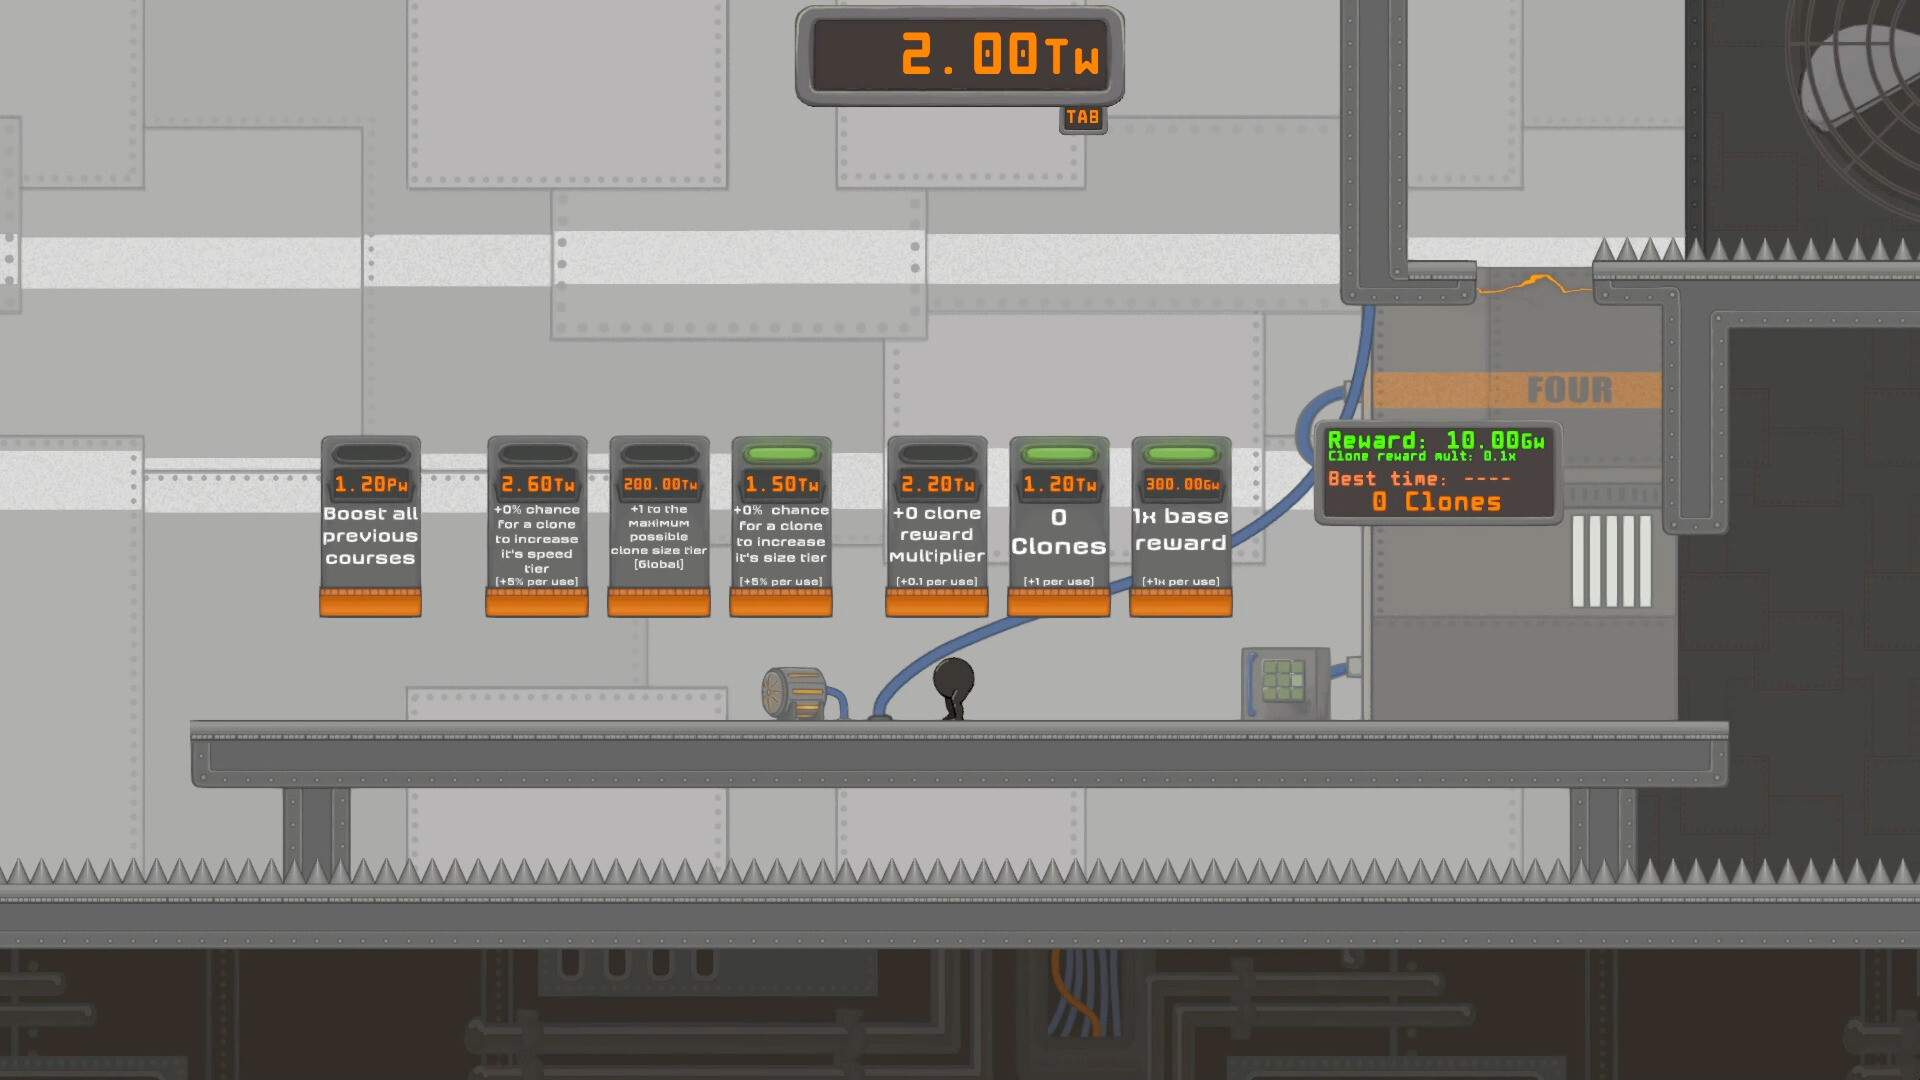
Your first course pays almost nothing — the official course ONE screenshot shows a Reward of 2w with a Clone reward mult of 0.1x — so the opening order is about escaping single-digit watts as fast as possible:
- Buy a few levels of base reward (Xx base reward, +1x per use) while running the course yourself. Every manual completion funds the next level.
- Buy your first +Clones (+1 per use) as soon as it is affordable. One clone replaying your best time earns while you practice.
- Alternate base reward and clones, leaning toward whichever is currently cheaper relative to its effect.
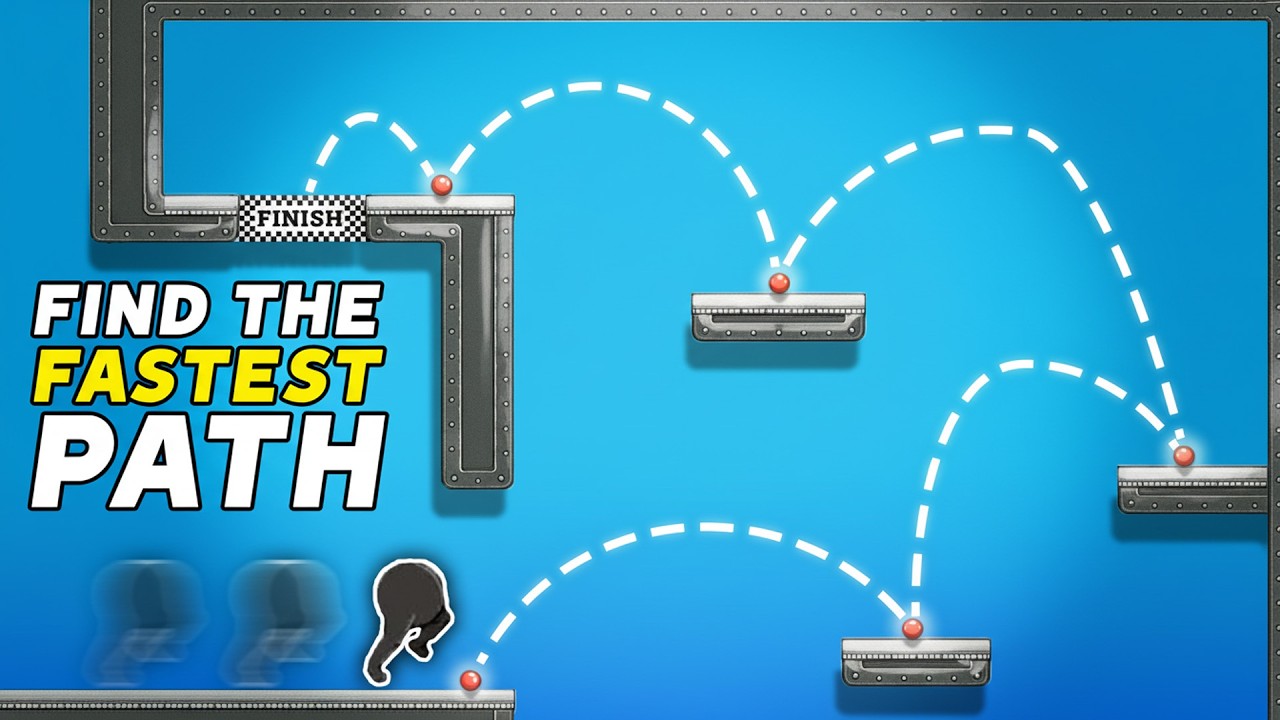
- Keep running the course. A better best time is a free, permanent upgrade to every clone you will ever put on it.
Do not touch the chance-based tier kiosks yet — with a handful of clones they barely register. And do not over-invest in this course at all; its role is to fund your first movement ability.
First abilities beat first luxuries
The wall jump is the first big power sink, and it should be your first big goal. Community playthroughs of the opening hours show the same pattern: grind course ONE's kiosks just enough, then spend everything on the wall jump, which opens the route to the next course and a fresh, richer set of kiosks.
From there the order is dictated by what each ability unlocks. Dash comes next in most runs (the achievement Spintap is held by 94.7% of players, so nearly everyone gets it early), followed by the double jump (Jump, but again., 86.9%). Each ability does double duty: it slashes your best times on existing courses and it gates the next area of the facility.
The practical rule for this whole phase: whenever an ability is within roughly one or two courses' worth of savings, stop buying kiosks and save. A 30% faster best time compounds across every clone forever; another +0.1 clone reward multiplier does not.
Mid-facility order: multiplier, then army, then tiers
Once a course has several clones running it, shift spending in this order:
- Clone reward multiplier (+0.1 per use) — it multiplies every clone's payout, so it scales with the army you already have. This is the strongest per-course kiosk once clones exist in numbers.
- +Clones and clone speed tier chance (+6% per use) — more clones and faster clones raise completions per minute. Speed-tier chance grows more valuable with every clone you own.
- Base reward — still useful, but at this stage multipliers and clone count usually outpace it per watt.
- Clone size tier chance — buy it alongside speed tier chance once your clone counts are high; the exact effect of size tiers is not spelled out in-game, but community players observe larger clones paying out more per completion.
One timing note reported consistently by community players: recording a new best time resets the clones currently running that course. That is not a reason to stop chasing times — a permanently faster route wins — but it is a reason to bank a big kiosk purchase right before or after a time-attack session rather than mid-grind.
Statue room: what to buy first
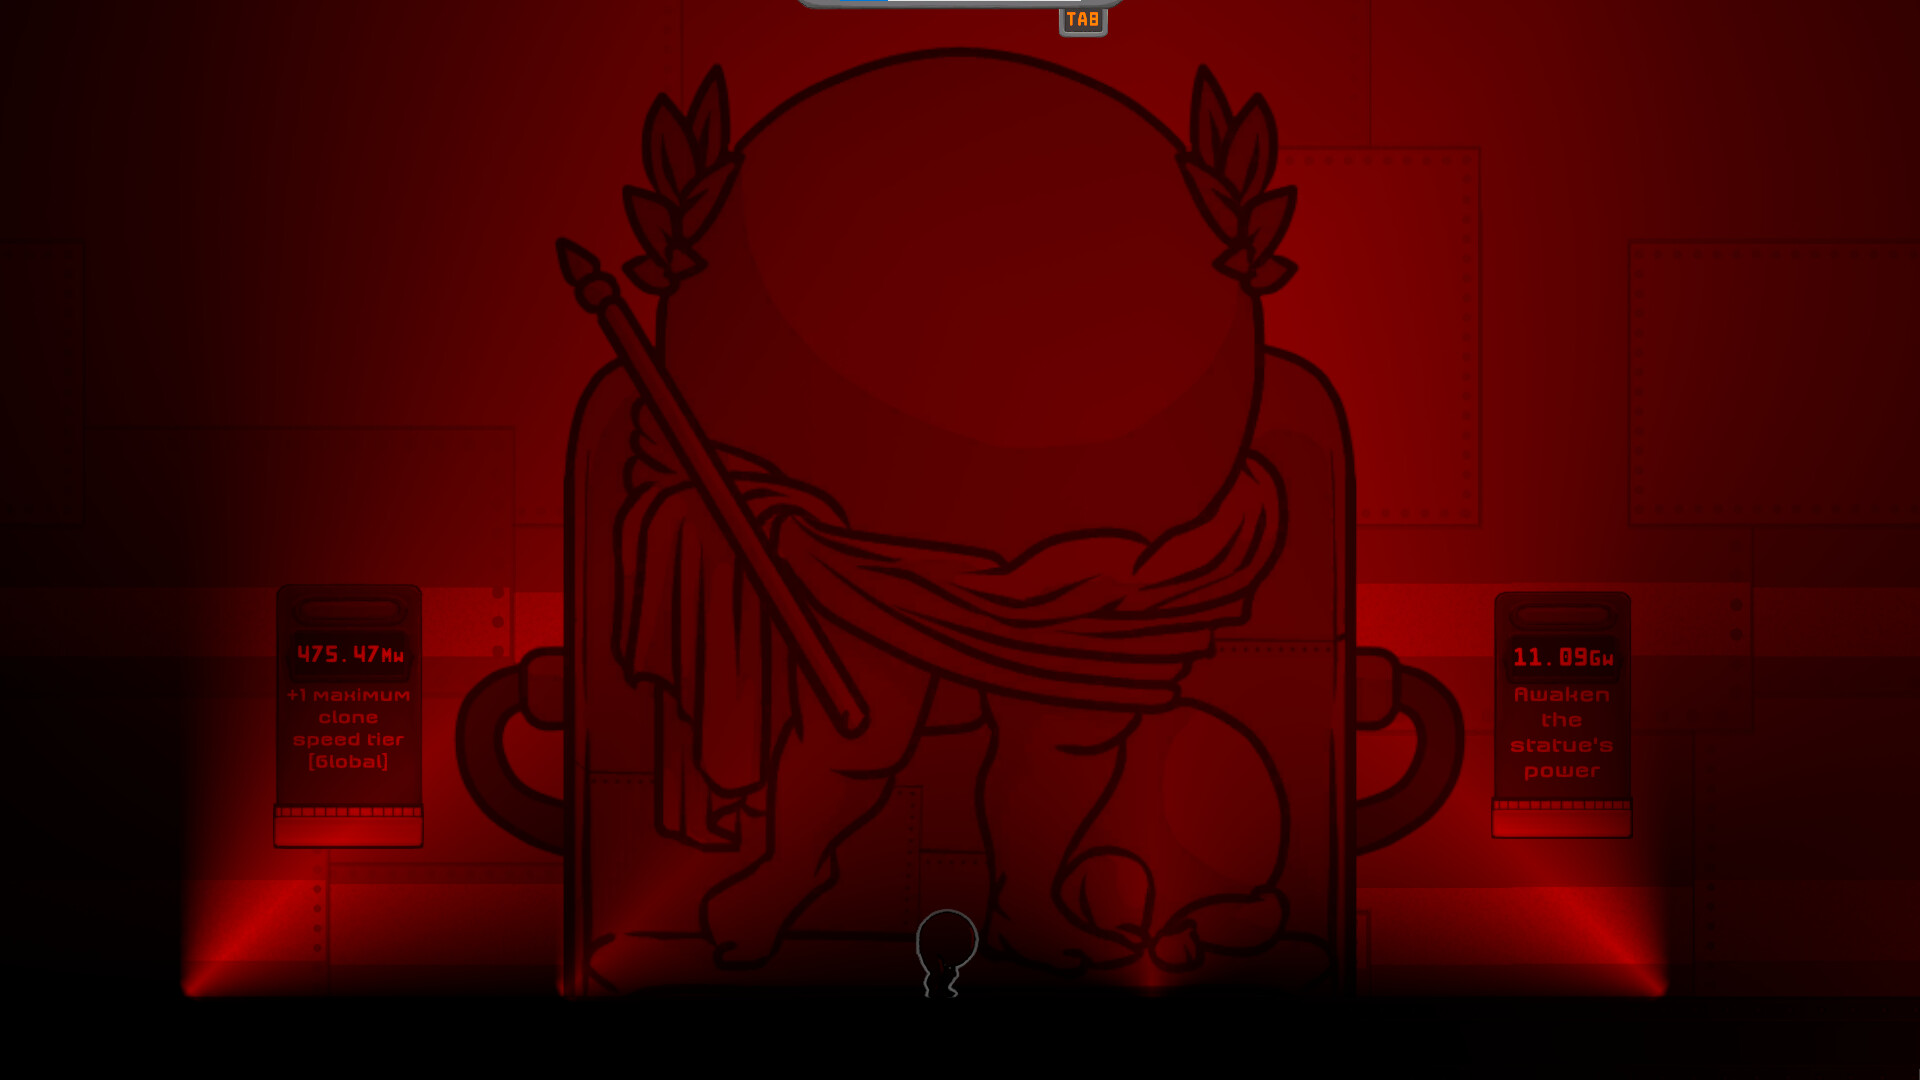
The red statue room is the mid-game's decision point, with two kiosks plus the big global unlock.
Recommended order:
- +1 maximum clone speed tier [Global] (475.47Mw as seen in the official screenshot) — raising the global speed ceiling makes every speed-tier-chance purchase on every course better, and it is the cheaper of the two statue kiosks.
- Awaken the statue's power (11.09Gw as seen in the official screenshot) — the big one. Community playthroughs report it boosting all previous courses and opening the next phase of the facility. Buy it the moment you can; nothing else in the room competes.
- Afterward, revisit your older courses. With globals raised and the statue awakened, old courses that looked dead start paying again, and topping up their multipliers and clone counts becomes worthwhile.
If you encounter Boost all previous courses on a kiosk row (1.20Pw as seen in the official screenshot), treat it the same way: an expensive but transformative purchase to make the first time you can comfortably afford it, and repeatedly thereafter as your income scale grows.
Saving for the atom: when to stop buying watts
Eventually the kiosk Turn all of your power into new atoms (priced in gp — 276.51Kgp as seen in the official screenshot) becomes your best available purchase, and the ordering logic changes completely. Your first atom conversion earns the I am igtapic. achievement and starts the prestige loop that carries the endgame.
Before converting, the sensible checklist from community playthroughs is: every movement ability you can currently afford is bought, the statue globals are owned, your active courses have healthy clone counts and multipliers, and any reachable secret upgrades are claimed (the first one is the Not all those who wander are lost achievement). Anything left unspent in watts is fuel for the conversion, so once the checklist is done, dump the rest.
After the conversion, the kiosk itself describes the trade: community playthroughs quote it as resetting watts and course upgrades to produce an atom, while movement abilities such as the dash carry over. The order then restarts in compressed form, and the upgrade tree and refresh orbs (Stem Cells achievement) take over as the new priorities. That long-run plan is covered in the build order guide.
Order mistakes to avoid
- Over-investing in early courses. Course ONE's kiosks exist to fund the wall jump, not to be maxed. Old per-course upgrades are dead watts next to globals.
- Buying chance upgrades before clone count. Speed and size tier chance roll per clone spawn; with few clones they do almost nothing.
- Ignoring your own best times. A route you re-record 20% faster raises that course's income forever at zero watt cost. Practice is an upgrade.
- Hoarding watts past an ability unlock. If the dash or double jump is affordable, it out-earns everything on the kiosk row.
- Converting to atoms too early. The first atom is powerful, but converting before you have the statue globals and current abilities wastes the run's momentum.
The community thumbnail below is from a long-play video showing this exact loop — courses, kiosks, abilities, statue, atoms — played out in full.